Australia Wide Shipping
Australia Wide Shipping

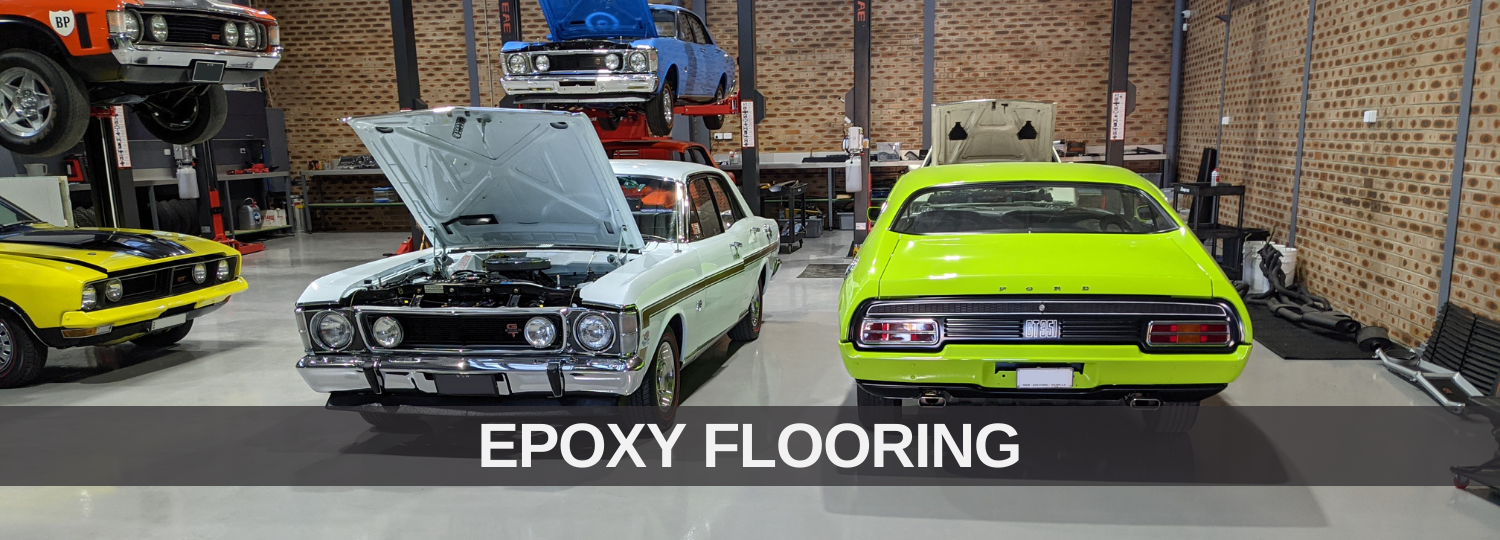
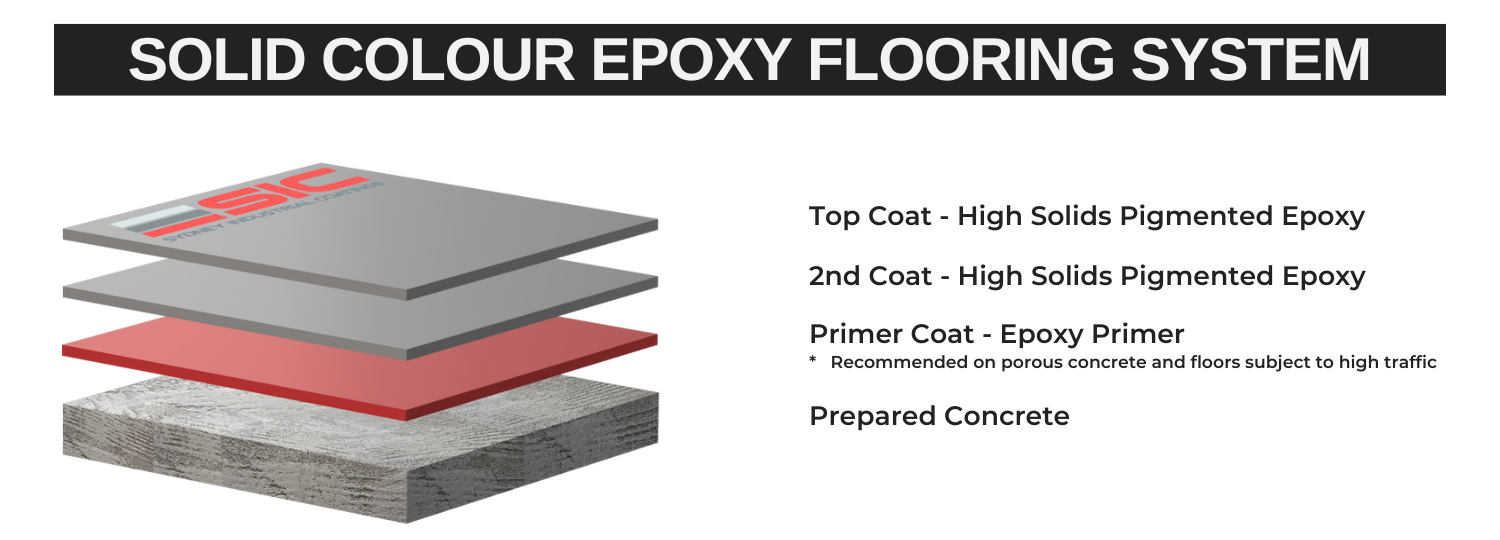
The tough environment of an industrial business requires a flooring solution that is both hard-wearing and long lasting. Solid color epoxy coatings are a popular choice for workshops as they provide a durable and attractive flooring solution. Epoxy coatings are made of a mixture of resin and hardener that, when applied to concrete floors, create a durable and long-lasting surface. Industrial grade epoxy floor coating systems ensure that your floor will stand up to the harshest chemicals and meets the Australian Flooring Standards for safety.
Durability Epoxy coatings are known for their durability and resistance to wear and tear. They can withstand heavy foot and vehicle traffic, as well as chemicals and spills.
Easy maintenance Solid color epoxy coatings are easy to clean and maintain. They are resistant to stains, dirt, and grime, and can be cleaned with a damp mop or a mild detergent.
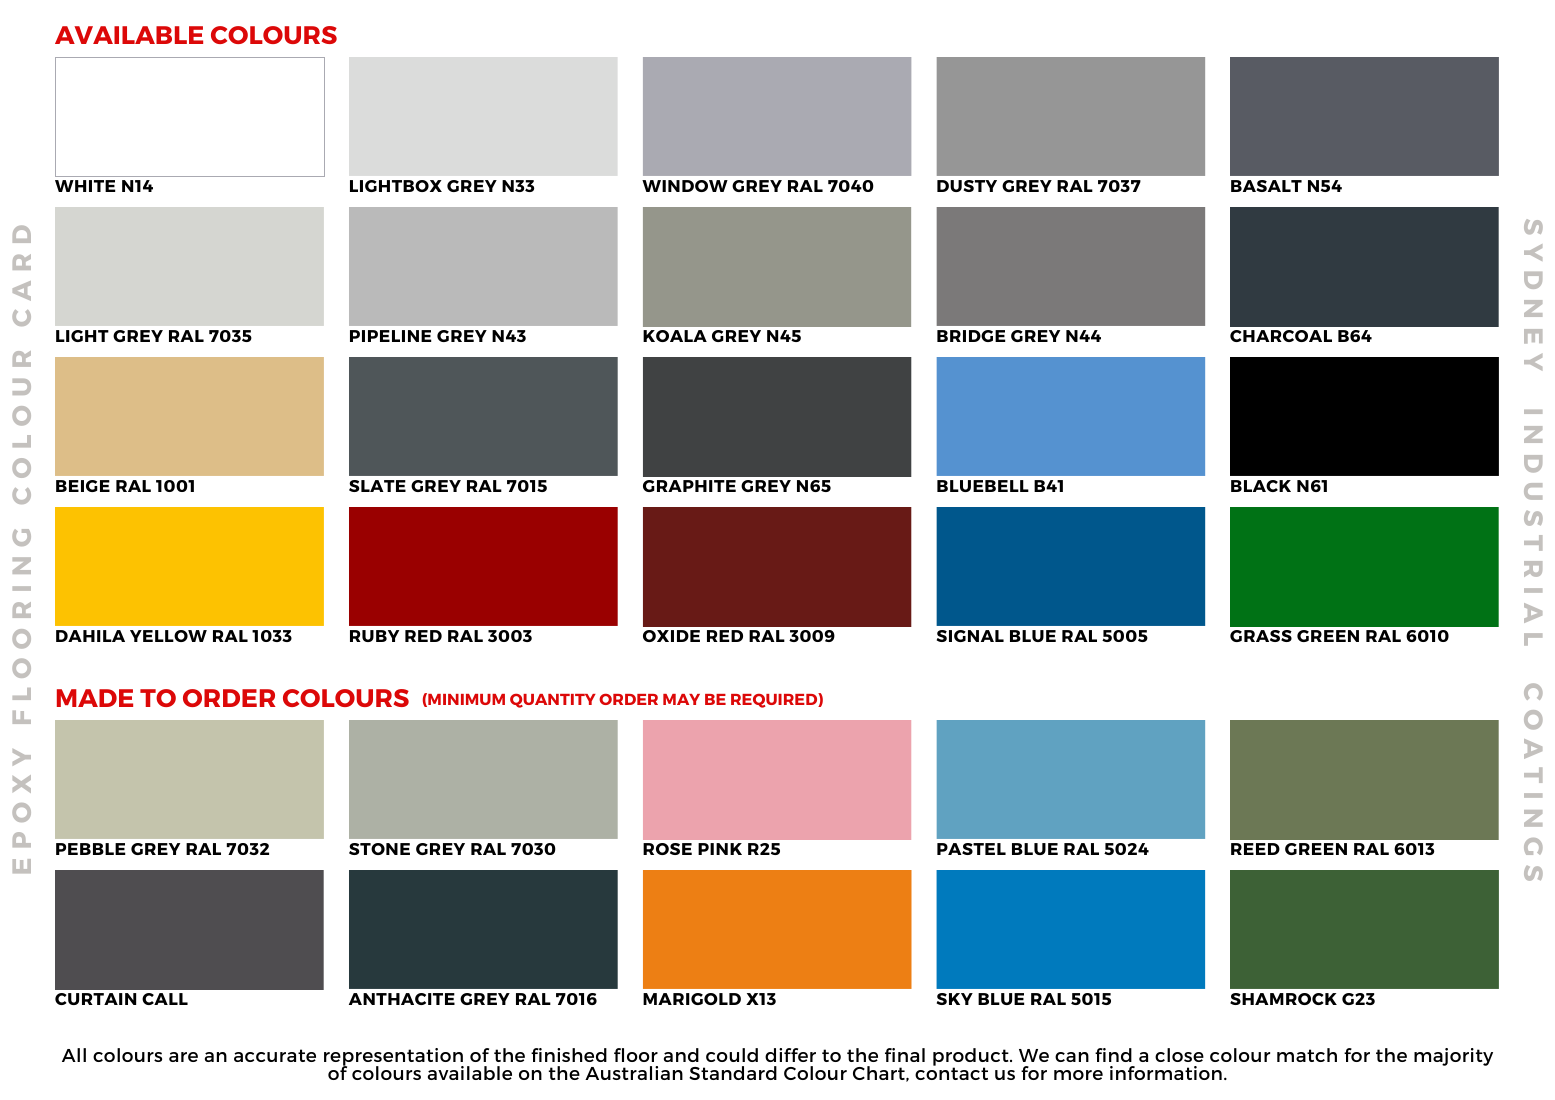
Aesthetics Epoxy coatings come in a wide range of colors and finishes, allowing you to customize your workshop’s look. Solid color epoxy coatings can create a sleek, professional look that is perfect for workshops.
Safety Epoxy coatings can be designed with slip-resistant additives to improve safety in the workshop. This is especially important in areas where spills are common.
Cost-effective Solid color epoxy coatings are a cost-effective solution for workshops. They are more affordable than other flooring options and require less maintenance over time.
When considering solid color epoxy for your workshop, it is important to talk with a professional installer who has experience with epoxy coatings. They can help you choose the right color and finish, as well as ensure that you have the knowledge to properly install an epoxy floor coating for maximum durability and longevity.
Showing all 6 results
To achieve a successful floor coating system make sure your surface is free of dust, oil/grease, any loose particles or paint and moisture. Click on the options below for further information
Epoxy Flooring Tools Information
Epoxy Floor Coating Preparation
Floor Grinders: Floorex 480mm Grinder | Husqvarna 450mm Grinder | Scintex 250mm Grinder
Vacuums & Dust Extractors: Floorex | Husqvarna S36 (3 motor phase) | Husvarna S13 (single phase)
Diamond Grinding Plugs: Rectangle | Arrow | PCD (to remove previously coated or adhesives on the floor)
Redi-Lock Diamond Plugs: Sydney Industrial Coatings (9 pack)
Diamond Grinding Cup Wheels: 125mm to 250mm
Fill in all your cracks using a 2-pack epoxy filler and wait until the patching mortar is fully cured before grinding or coating the floor, this process usually takes a minimum of 6 – 8 hours.
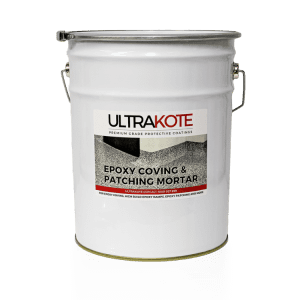
For larger cracks and spalls: SIC Epoxy Coving & Repair Kit | Sika Sikadur 31 CFN
For smaller patching and cracks: Sika Sikadur 33 | Sikadur 513 (magic powder mixed into epoxy to thicken up)
General curing time (at 20°C) is a minimum of 8 hours. This can vary further if solvent has been added to the epoxy.
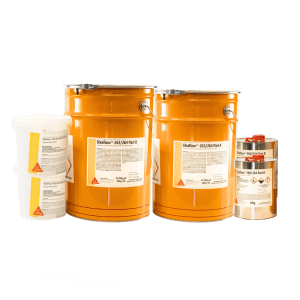
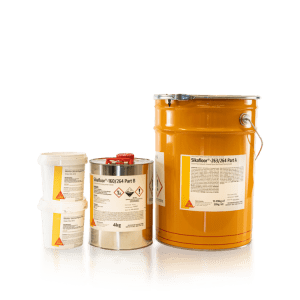
Sika Australia: Sikafloor 160 (up to 40sqm) | Sikafloor 94 (recommended) | Sikafloor 158W (moisture barrier)
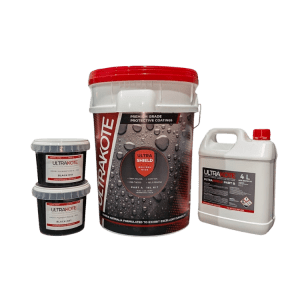
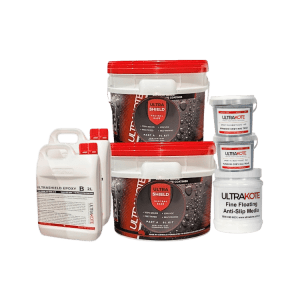
UltraKote: High Solids Epoxy
Elite Crete Systems: E100-VB5 Epoxy Vapor Barrier
EpiMax: Epimax 237WB (water based)
This is an important step for if the coating is left uneven, this will show though your final coat. If this step if not completed within 30 – 36 hours (depending on temperature) of applying the previous coat, the floor will need to be scratched using an 80 grit sand paper.
General curing time (at 20°C) is minimum 8 hours.
High Solids Epoxies: UltraKote High Solids Epoxy
100% Solids Epoxies: Sikafloor 264 | Elite Crete Systems PT4 (pretinted)
UV Stable Polyurethanes: Sikafloor 359 AU | EpiMax 920
UV Stable Polyaspartic: EpiMax 842
Using thinners in the final (or finish) coat is not recommended. It is always recommended to back roll the product against the natural light to assist with achieving a more uniform finish. Wearing spike shoes to walk over the epoxy can help ensure the product is applied evenly, however you must apply safety practices and be cautious of injury.
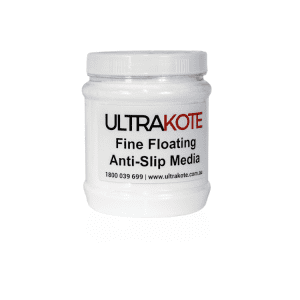
Antislip media can be added to the topcoat to achieve a higher slip rating
Your floor will be trafficable after 24-48 hours and heavy items such as cars, boats or trailers shouldn’t be parked on the floor for 7 days after application of the final coat