Australia Wide Shipping

ULTRAKOTE – FLAKE FLOOR COATING SYSTEM

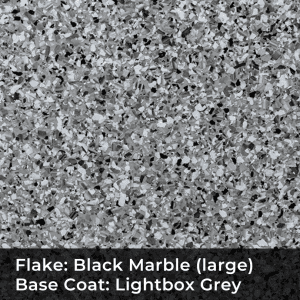
Flake Floor Coating For Garages, Shops, Showrooms, Patios, and more

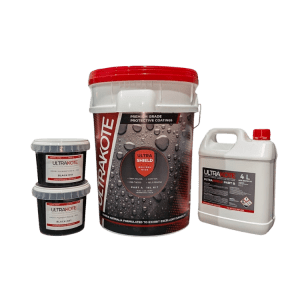
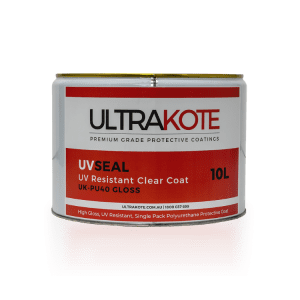
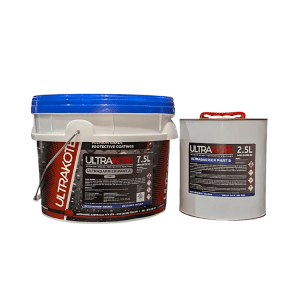
Achieve a flawless flake floor coating with Ultrakote products using our step-by-step guide. We provide all the necessary steps and products for a seamless and durable finish. Perfect for both DIY enthusiasts and professionals, our guide makes the process simple and successful. See below to find out about the process and latest pricing on products offered by UltraKote Australia.

See our Packaged Deals


Products used in Ultrakote’s Flake Floor Coating System


Flake Flooring Application Steps


    1. Prepare the substrate thoroughly by diamond grinding or acid etching
      To achieve a successful floor coating system, make sure your surface is free of dust, oil or grease, any loose particles or paint, and moisture. If your floor is subject to rising dampness, you would need to apply a moisture barrier primer prior to applying your base coat | more info
    2. Repair cracks and imperfections using two-pack epoxy fillers
      Fill in all your cracks using a 2-pack epoxy filler, such as Sikadur 31 CFN. For larger cracks and spalls, use Sydney Industrial Coatings’ Epoxy Coving and Repair Kit. The patching mortar will need to be fully cured before it can be grinded or coated, and this process usually takes a minimum of 6–8 hours depending on the temperature of the day
    3. Apply epoxy primer to the floor and allow the coating to cure
      General curing time (at 20°C) is a minimum of 8 hours. This can vary further if solvent has been added to the epoxy.
    4. Return within 24 hours of applying the primer to remove rubbish and imperfections (by grinding down high sections and patching any low sections)
      This is an important step for if the coating is left uneven, this will show through your final coat. If this step if not completed within 30 – 36 hours (depending on temperature) of applying the previous coat, the floor will need to be scratched using 80-grit sand paper.
    5. Apply an even coat of epoxy base coat, broadcast flake over the epoxy while the product is still wet and let it cure
      Wearing spike shoes is required to walk over the epoxy and broadcast the flake evenly; however, you must apply safety practices and be cautious of injury.
    6. Return the next day to vacuum or blow any loose flake and apply two clear top coats to achieve optimum results when sealing the flakes
      The general curing time (at 20°C) is a minimum of 8 hours for each coat of clear. Depending on the top coat being used, ensure correct amount of product is applied to the floor. If the floor is subject to heavy solvent, fuel or chemical spillage consider applying a two-pack clear top coat instead of a single pack.
    7. Anti-slip media can be added to the topcoat to achieve a higher slip rating
      As you will be applying a clear coat, ensure the aluminium oxide is not a noticeable colour.
    8. On a freshly applied coating, the floor will be trafficable after a minimum of 24 hours and the recommended curing time before parking cars, boats, trailers or any other heavy objects, is a minimum 5 days after application of the final coat


Ultrakote Flake Flooring Colour Chart


SIC Mixed Flake Flooring Sample Card

SIC Natural Stone and Single Colour Epoxy Flake Flooring Sample Card From Sydney Industrial Coatings


Click here to view the PDF colour chart for the Base Coat of your Epoxy Flake Floor


Click here to view our Flake Epoxy Flooring PDF Brochure to see the samples and flakes


Google Rating
5.0
Based on 80 reviews
×
js_loader