Australia Wide Shipping
Australia Wide Shipping


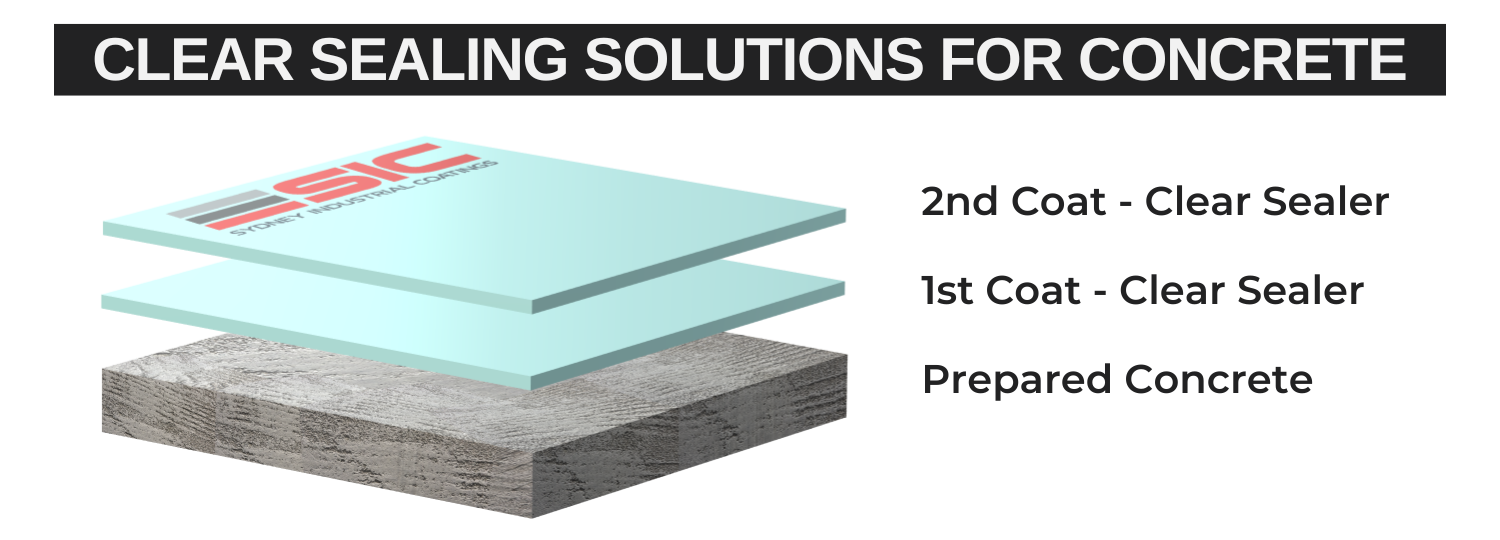
Clear concrete sealers and polyurethane finishes are products that can be used to protect and enhance the appearance of the concrete surface inside workshops. They are applied as a clear liquid and are designed to seal and protect the concrete from moisture, stains, and other types of damage. Clear floor coatings are an ideal solution for workshops that want their natural salt and pepper concrete-look with the added protection and benefits of a high quality concrete sealer. There are many different types of clear concrete sealers available for workshops including penetrating sealers, topical sealers, polyurethanes and more.
Penetrating sealers
These are clear sealers that penetrate into the concrete to provide a protective barrier against moisture and other types of damage. They are often used on outdoor surfaces like driveways, patios, and sidewalks, and help to prevent cracking, staining, and spalling. They are typically low-VOC and breathable, meaning that they do not form a surface film on top of the concrete, which can trap moisture.
Topical Sealers
These sealers sit on the surface of the concrete to provide a protective barrier. They can provide a glossy or matte finish, they can enhance the color of the concrete, or they can be used to add slip resistance. They are often used in indoor or high-traffic areas, such as on concrete flooring in commercial or industrial buildings.
Polyurethanes
Polyurethanes are clear coatings that are often used as a topcoat over concrete floors, they are typically used in commercial or industrial settings to protect the concrete from heavy traffic and wear. They can be also used as sealers and can be applied as both penetrating or topical. They are known for their exceptional durability, chemical resistance and flexibility. They are also resistant to UV light and chalking, which means they maintain their clarity and durability over time.
Showing all 5 results
To achieve a successful floor coating system make sure your surface is free of dust, oil/grease, any loose particles or paint and moisture. Click on the options below for further information
Epoxy Flooring Tools Information
Epoxy Floor Coating Preparation
Floor Grinders: Floorex 480mm Grinder | Husqvarna 450mm Grinder | Scintex 250mm Grinder
Vacuums & Dust Extractors: Floorex | Husqvarna S36 (3 motor phase) | Husvarna S13 (single phase)
Diamond Grinding Plugs: Rectangle | Arrow | PCD (to remove previously coated or adhesives on the floor)
Redi-Lock Diamond Plugs: Sydney Industrial Coatings (9 pack)
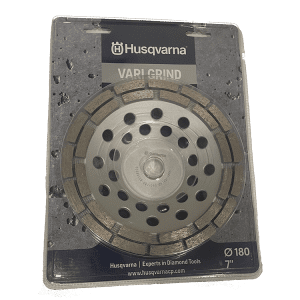
Diamond Grinding Cup Wheels: 125mm to 250mm
Ensure the floor is level and polished consistently to avoid grinding marks or imperfections showing in the completed application.
Diamond Grinding Cup Wheels: 125mm to 250mm
As this is a clear floor coating system, patching imperfections will be very noticable on the floor. It is completely up to the applicator’s preference as most prefer the natural look of the cracks and feel that the imperfections are what make the floor perfect for them.
Fill in all your cracks using a 2-pack epoxy filler and wait until the patching mortar is fully cured before grinding or coating the floor, this process usually takes a minimum of 6 – 8 hours.
For larger cracks and spalls: SIC Epoxy Coving & Repair Kit | Sika Sikadur 31 CFN
For smaller patching and cracks: Sika Sikadur 33 | Sikadur 513 (magic powder mixed into epoxy to thicken up)
General curing time (at 20°C) is a minimum of 8 hours. This can vary further if solvent has been added to the coating. General curing time (at 20°C) is minimum 8 hours. It is always reccomended to back roll the product against the natural light to assist with achieving a more uniform finish. Wearing spike shoes to walk over the epoxy can help ensure the product is applied evenly, however you must apply safety practices and be cautious of injury.
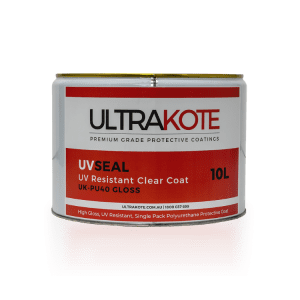
Aliphatic Polyurethanes: UltraKote UVSeal (Gloss only)
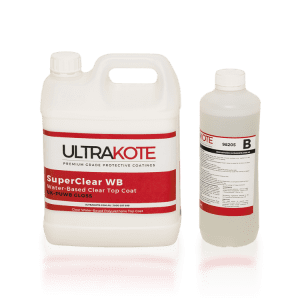
Waterbased Polyurethanes: UltraKote SuperClear (available in Gloss or Matt)
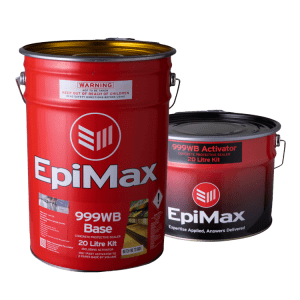
Waterbased Epoxies: EpiMax 999WB (comes in Satin or Matt)
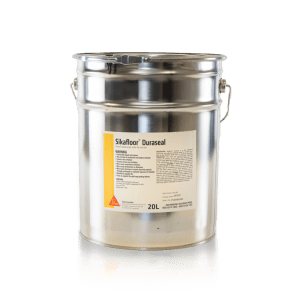
Concrete Sealers: Sikafloor Duraseal
If this step if not completed within 30 – 36 hours (depending on temperature) of applying the previous coat, the floor will need to be scratched using an 80 grit sand paper.
If you are applying the system over porous concrete, a third coat may be required. If a third clear coating is required, repeat above.
Antislip media can be added to the topcoat to achieve a higher slip rating
Your floor will be trafficable after 24 hours and heavy items such as cars, boats or trailers shouldn’t be parked on the floor for 7 days after application of the final coat